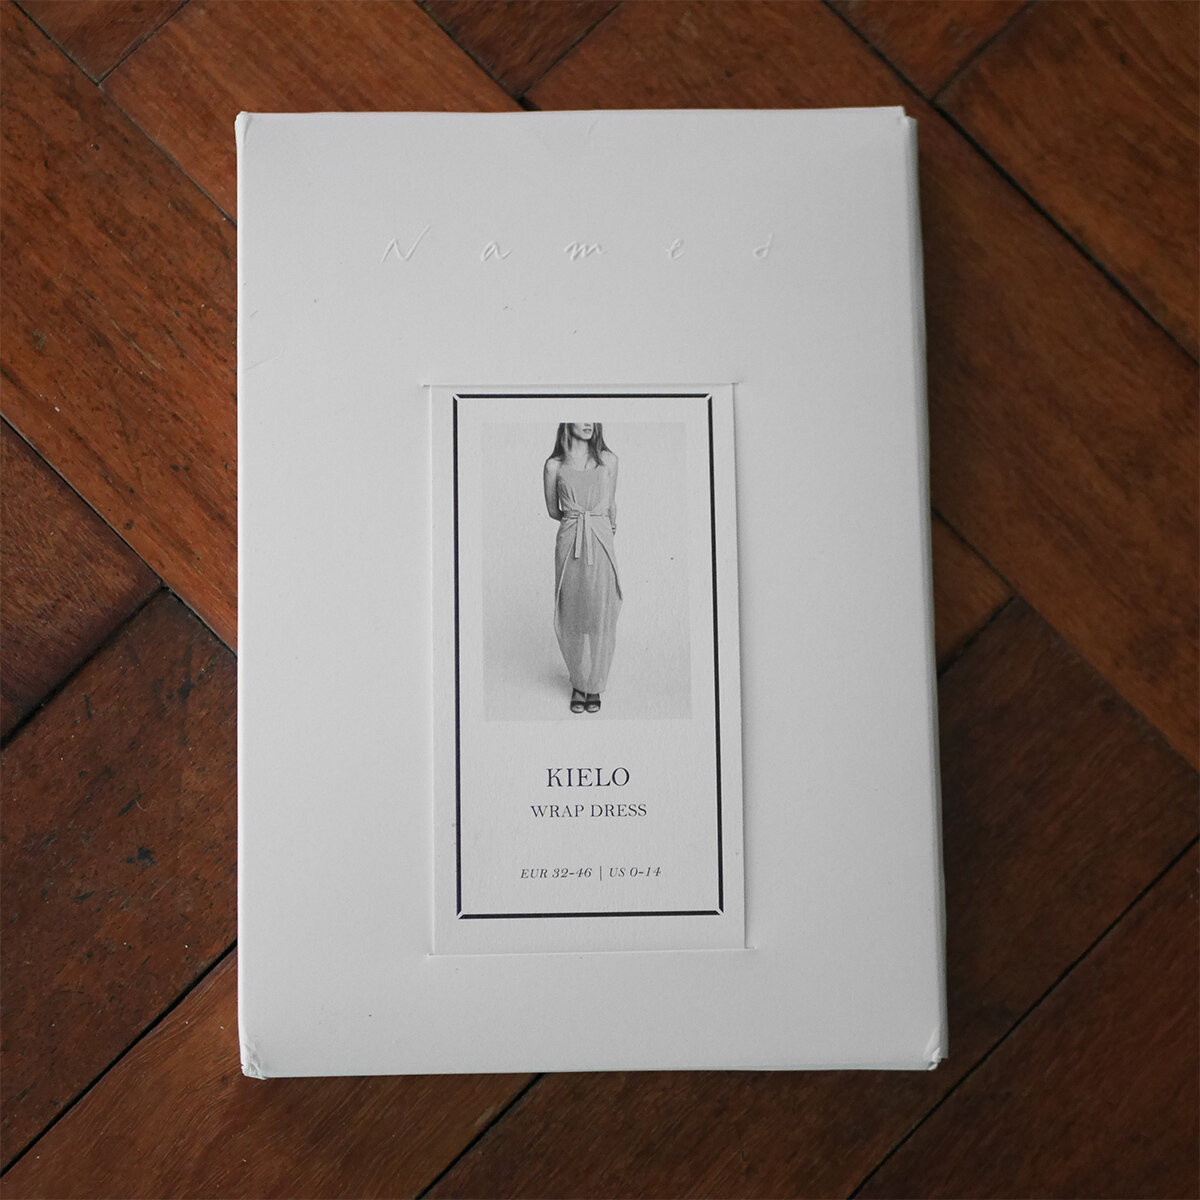
Kielo Wrap Dress
PROJECT: Simple maxi dress with wrap around ties and a slit at the centre back hem.
PATTERN: The Kielo Wrap Dress by Named Clothing
REASONS FOR MAKING: It’s party season and I needed a dress to feel good in while carrying an almost cooked baby bump. Christmas and New Year parties were just around the corner so I needed a speedy make.
FABRICS: Sheer black knit with a lurex fleck throughout. I bought this deadstock fabric in TWI, Mountjoy Square, Dublin.
TRIMS: None
HOW TO: What a great easy make. Not many pieces and super simple to put together.
While I was using an overlocker to construct most of the garment, I left the centre back seam raw so that I could press the seam open to allow for the slit at the hem. It’s easier this way so that you can fold back the seams accurately. Since the fabric is a knit, I knew there would be no need to worry about it fraying.
After sewing in the darts on the front and back (pressing as you go along), the shoulders and side seams are then joined. You trap the ties into the seams as you go.
For the neckline, I decided to do a self fabric edge. Here’s how I did it. I measured the total length of the neckline and cut a 4cm wide strip about 2cm shorter than the total length.
Right sides together, I joined the short end of the strip using a 1cm seam allowance. This gave me my neckband.
Next I gave it a press, folding it wrong sides together along the middle, lengthwise. Now it was ready to join to the garment.
I lined up the seam with the centre back seam, right sides and raw edges together and pinned in place. Next, finding the midway point of the band, I pinned that to the centre front point. Using a small bit of tension toward the front of the band, I lined up roughly midway between C/F & C/B with the shoulder seam and pinned in place, repeating this process on the other side.
Next I simply overlocked the band to the neckline and pressed the seam inwards to the garment.
And just like that, the garment was finished. I had cut the fabric one evening and had it made up in another and I did go the ball. Both parties infact!
Since this was a sheer fabric, I just used a simple black slip for underneath and threw on a killer pair of blue shoes. Party Ready!
WHAT WENT WRONG: Not a thing.
LESSONS LEARNED: I’m not normally one to repeat a make but I think I might give this dress another go during the summer. If I do, maybe I can try a different binding method for the neck and armhole. Not really a lesson learned, more an alternative option!
VERDICT: I love the simplicity of this design and the fact that it’s so versatile that you can wear it as a maternity dress or regular. I’ll look forward to wearing it again post baby!
It’s simple to put together, the instructions are clear and easy to follow and the design is fab. All the stars!


