
Sunrise Pouch
PROJECT: 4 little cosmetic style bags, each with a personal embroidery detail, written by my daughter.
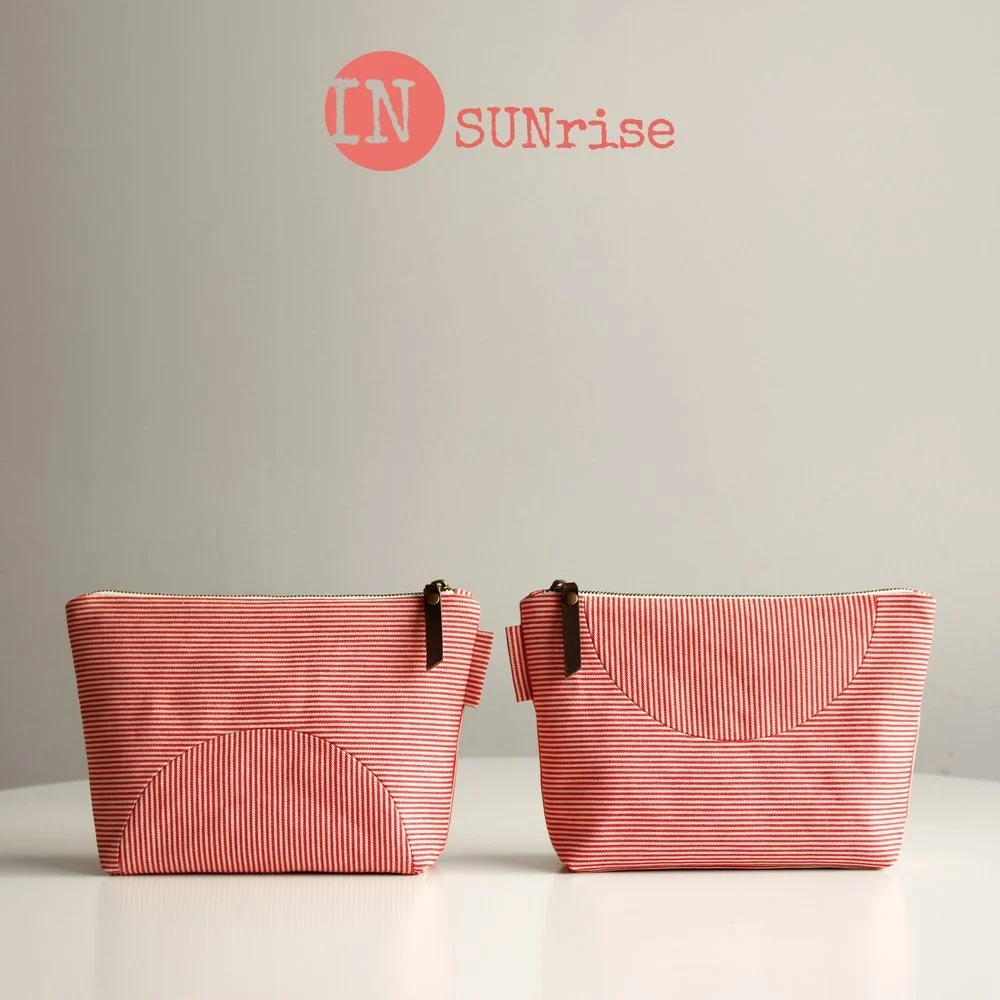
PATTERN: SUNrise Pouch by In Complete Stitches
REASONS FOR MAKING: I wanted to make a small but personal thank you gift for my daughter’s teachers. I’ve also had one of Sarah’s bag patterns on my to do list for ages so this felt like the perfect opportunity.


FABRICS:
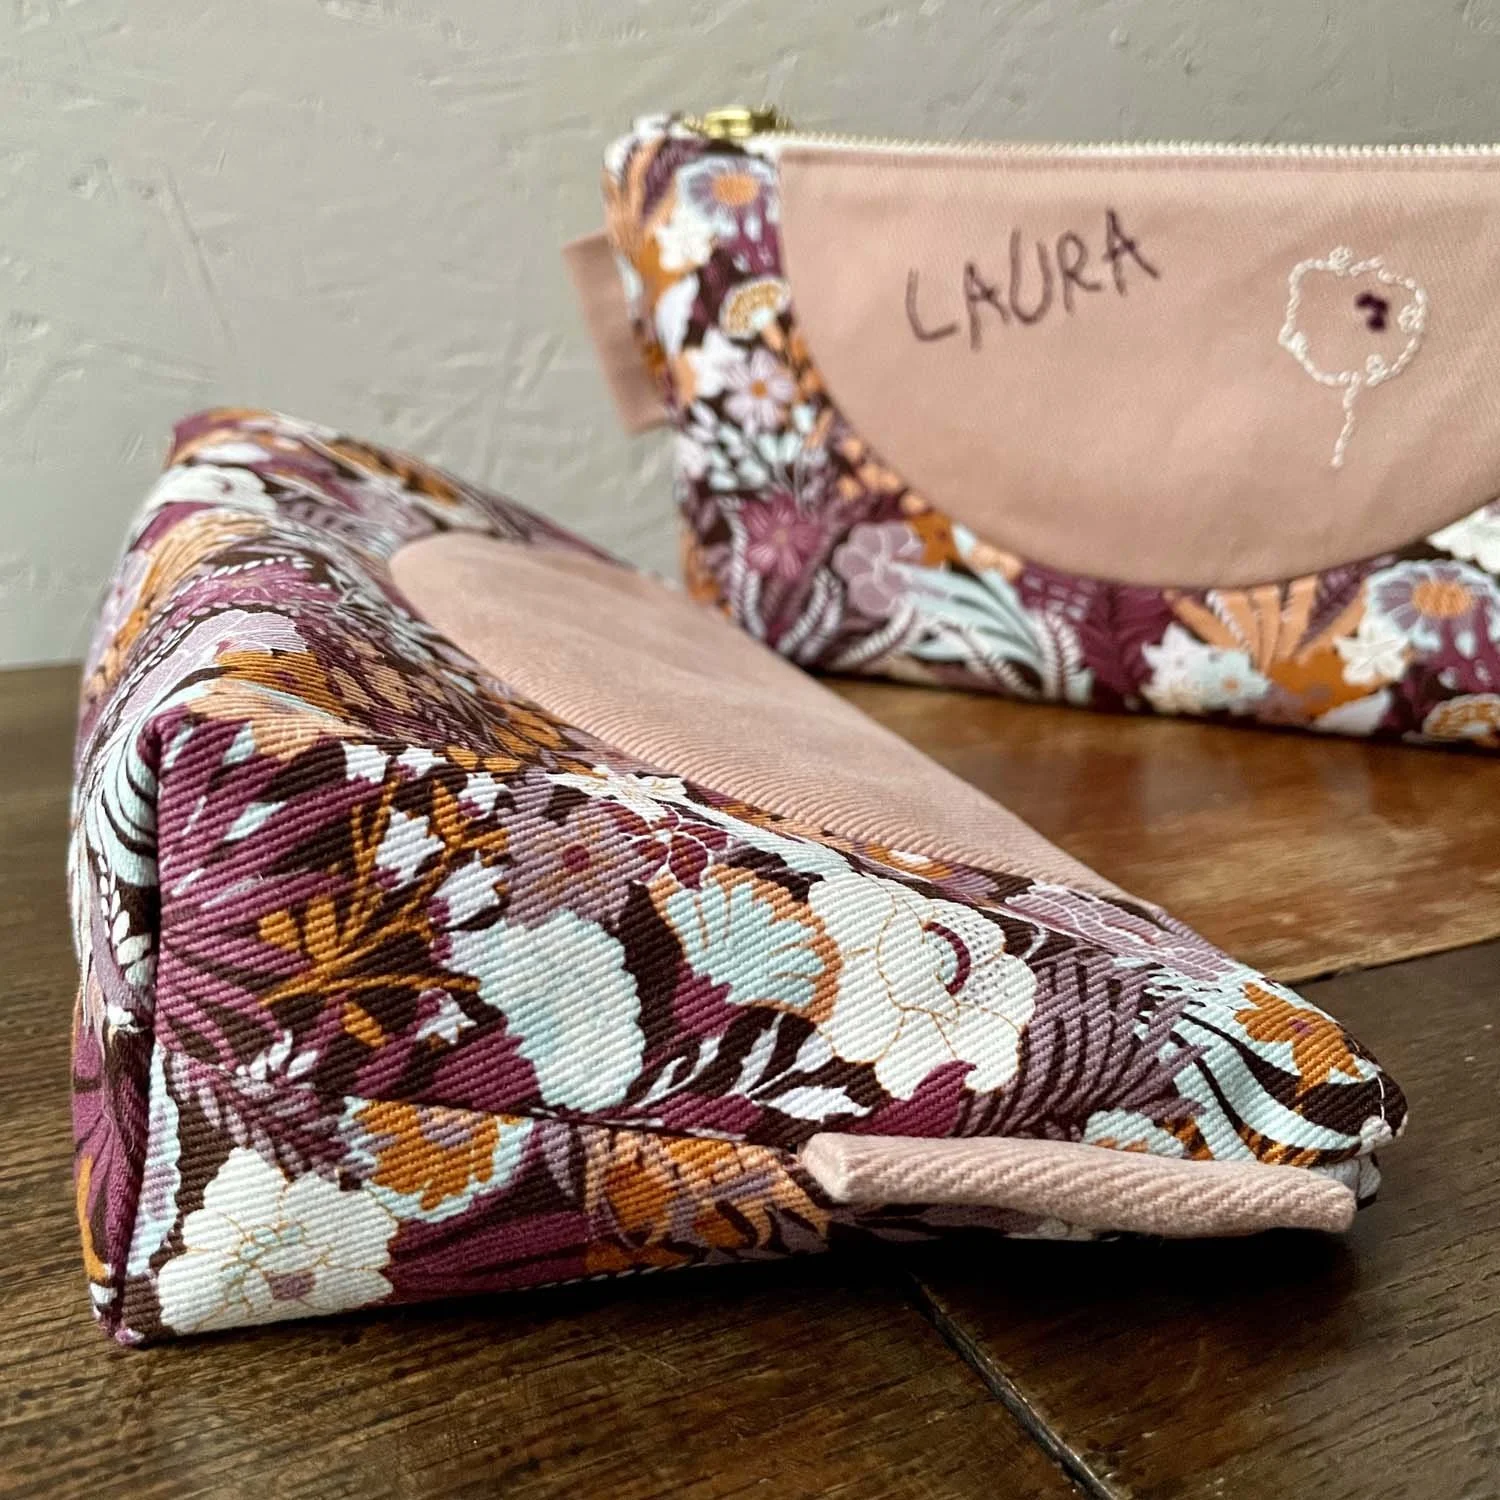
Fabric Romance was my first port of call. Not only do I just adore Steph’s eye for fabrics, I’ve had an eye on her bag making kits so knew she stocked the perfect fabric and notions selection. With her help (another reason I love shopping there, Steph is amazing for advice when you’re a bit stuck between colours!) I settled on a See You at Six gaberdine twill canvas for the body and an Atelier Brunette solid gaberdine twill for the sunrise section and lining.
TRIMS: Cream metal zip with gold hardware.

HOW TO: First and foremost, if you are in any way intimidated by the thoughts of bag making, don’t be. The instructions are super clear and straightforward. I’ve never been an expert at zip insertion but this was a breeze. Every single step of this construction was extremely satisfying. I’m not sure if it was the sturdy fabrics or the very methodical nature of bag construction it but I really enjoyed making these.
I had my daughter write her teacher’s names and a little drawing on some paper and I the transferred them onto the fabric. This meant roughly laying out the pattern pieces first so that I knew I was embroidering in the right spot. It’s far easier to embroider the fabrics as a whole rather than when cut out. That way you can fit it into an embroidery hoop and get stitching.


I love doing this idea. It’s a gorgeous way to keep a drawing or even just to remember the different stages of writing and drawing with kids. Plus, it got my little girl involved which was nice so that she felt she really did make the gifts for each múinteoir. She got to do a few stitches on each name before getting bored and telling me to do the rest!
Once they were finished, I needed to shorten my zips before I could get constructing so after battle with a pliers for what felt like an age, I had 4 zips, shortened and ready to go.

Get ready for some synomyms for ‘SATISFYING’ because I’ll be using it a lot in this little write up…
First step was piecing the sunrise panels for the main bag. The .5cm seam allowance is great because it means you don’t need to bother trimming back or clipping the seams to get a beautiful curve. Very PLEASING. I wasn’t going to put a side tab on the bags but I liked the idea of it adding just an extra little bit of interest so I went ahead with it to match the sunrise panel.


I prepared my newly shortened zips next. You create cute little zip ends to make it look super professional. Very GRATIFYING. Next up the main fabric and lining gets attached to the zip along with some very FULFILLING topstitching.

Sewing the main and the lining is a simple as sewing a few straight lines and leaving a gap in the lining to turn out when complete. Be sure to keep your zip open at that point or else you’ll sew the bag shut!
The instructions suggest hand sewing the gap in the lining closed but I was running out of time and I was feeling lazy so instead I machine sewed them shut, not before slipping in a little calico tag with my daughter’s name and school year on it, just to remind those lovely ladies who they were dealing with once upon a time!
I feel like I’m cheating when I say that’s it. They really were that straightforward and truly, very REWARDING to make. I’m delighted I finally bit the bullet and made an In Complete Stitches pattern. It’s always fun to support a fellow Irish designer and being able to buy such quality fabrics right here in Ireland is a god send, especially with our neighbours departure from Europe making online shopping, well lets be honest, an absolute pain in the hoop really! So yay for being able to support local.


WHAT WENT WRONG: Not a thing.
LESSONS LEARNED: I learned that bag making (well at least this pattern) wasn’t nearly as finicky as I expected it to be.
VERDICT: They turned out great! A really nice personal gift to make if you’re stuck for an idea. Aside from being fairly speedy to make up, they’re also really professional looking in their details. The top stitching, the little details like the side tab, the zip tabs etc all give these pouches a really clean finish. Now who wants me to make them one for Christmas?


